
Launch with confidence: your UTM Manager tutorial
- One lightweight snippet
- Managed UTM structure
- QR codes and analytics
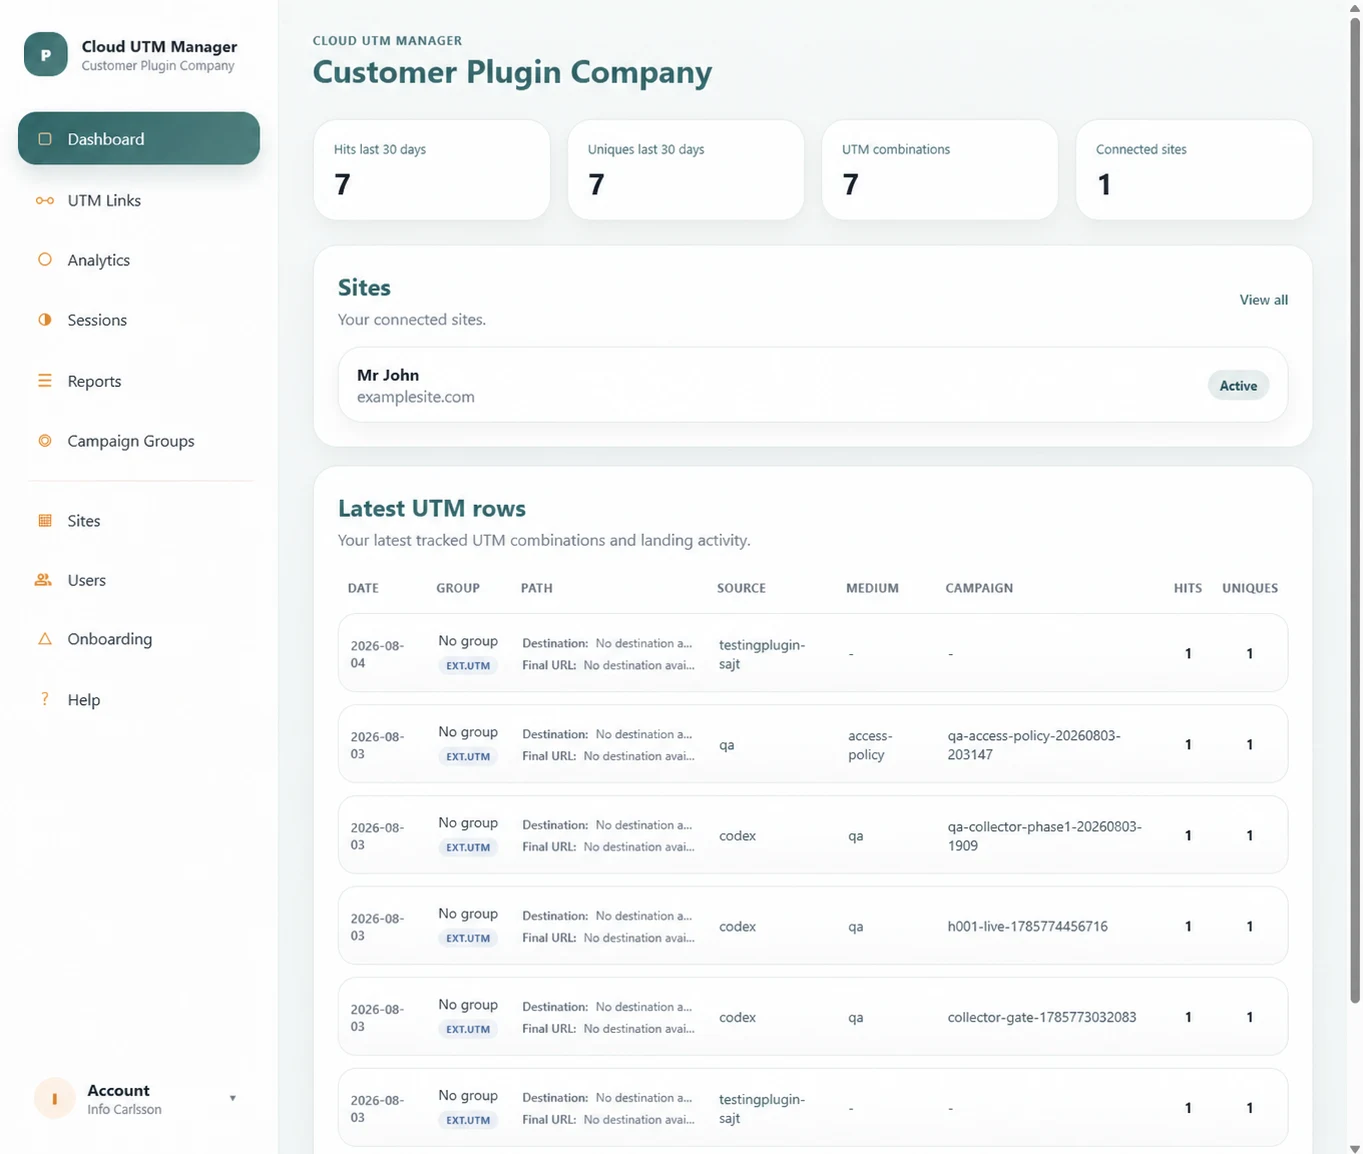
Tutorial: a clear path from setup to answers your team can use
Connect once, then feel ready
Give everyone the same structure
Create without second-guessing
See what people do next
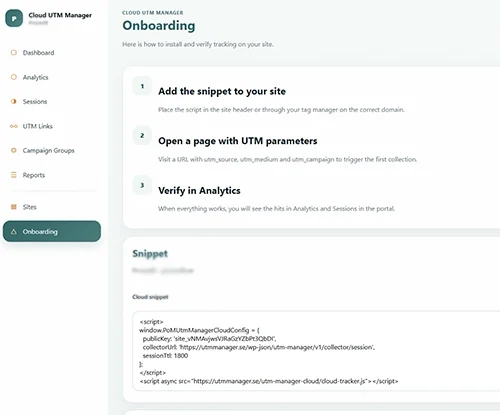
Add the code snippet
Log in to the Client Portal and open Onboarding to get your tracking snippet.
Copy the code and paste it into your website’s global <header> or <footer> so it loads on every page.
If you use WordPress, a plugin like WPCode is an easy way to add the snippet without editing theme files.
Before moving on, open the site in a private window and confirm that the snippet loads correctly. A quick verification here prevents missing data later and gives the team a dependable foundation.
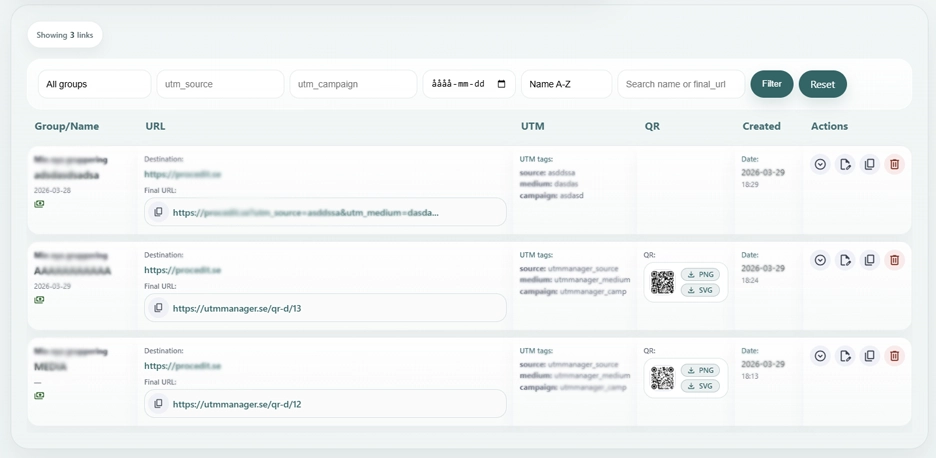
Create your UTM structure
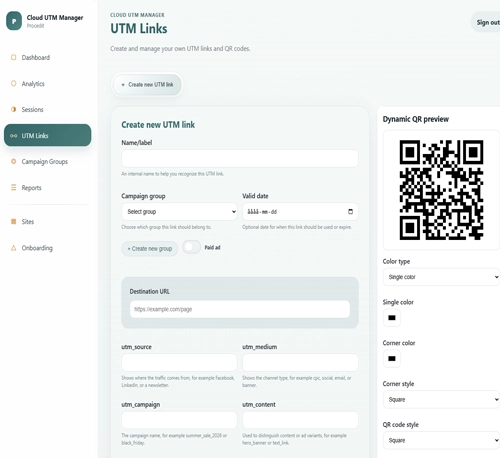
Create your UTM structure by setting up your links, campaign groups, and naming conventions in one place. This helps you stay organized, keep your tracking consistent, and build clean UTM URLs for every campaign. Agree who owns each value, which separators to use and how campaigns are archived. This tutorial turns those decisions into a shared reference. When they are made before launch, colleagues can build links independently while analytics remains easy to compare across channels and reporting periods.
Generate links and QR codes
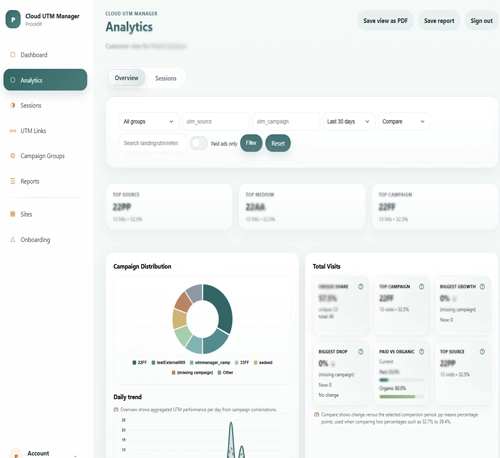
Follow traffic and visitor journeys
Turn one successful setup into a calmer everyday workflow
UTM Link Builder
Build and reuse structured campaign URLs in WordPress.
UTM Naming Convention
Create clear parameter rules that every team member can follow.
UTM Strategy
Connect naming, ownership and reporting in one operating framework.